Manual.ly Logo

Chicco Baby Hug 4 in 1 Instrukcja-Obslugi

0,0 · 0 Oceny

Instrukcja PDF · 112 Strony

Polski

M: GO-GEM-FL-25
strona

/ 112

Loading...
c2b283e0701ef547d8f033ee65ada21c6ffd page 10
16
17
CLEANING
Clean the plastic parts with a soft damp cloth. Never use
abrasive detergents or solvents. If the highchair comes
into contact with water, dry the metal parts to prevent
the formation of rust.
MAINTENANCE
• This product requires periodical maintenance.
• Cleaning and maintenance operations must only be
carried out by an adult.
• Periodically check the product for broken, damaged or
missing parts: do not use it in this case.
• To avoid friction that may compromise the correct
functioning of the product, ensure that all the moving
plastic parts located along the metal frame are free of
dust, dirt and sand.
• If necessary, lubricate the moving parts with dry sili-
cone lubricant.
• Store the product in a dry place.
COMPONENTS
The product is completely disassembled when pur-
chased; check that all of the components listed below
are present. If any part is missing contact ARTSANA’s
CUSTOMER SERVICES.
The product and all of its components must always be
assembled by an adult.
A - Height adjustable pedestal frame
A1 - 4 wheels with brakes
B - Seat frame
C - Seat structure
D - Tubular seat frame
E - Fabric (with shoulder straps)
F - Booster cushion
G - Toybar
G1 - Light / sound game buttons
G2 - 3 soft toys
I - Upper fabric zips
L - Plastic clips
M - Height adjustment pedal
N - Backrest recline lever
ASSEMBLY
The product is not assembled when purchased. To use
it, carry out the following assembly operations:
1. The rst thing to do is assemble the “A1” wheels on
height adjustable base frame “A”. To do this place the
frame on a rug or soft surface so as not to damage the
oor or frame. Assemble the 4 “A1” wheels inserting
the pins in the 4 holes under height adjustable base
frame “A” as shown in gure 1.
WARNING: Fully insert the wheel pin into the hole in
the base. At this point the base can be rested on the
oor.
2. Insert the fasteners of seat frame “B” into the respec-
tive tubes on seat structure “C” until they click into
place (Fig. 2).
3. Assemble the seat (seat frame “B” + seat structure
“C”) on the base: insert the two tubes on base “A”
into the corresponding holes on seat frame “B” until
they click into place (Fig. 3).
WARNING: The backrest must face the height adjust-
ment pedal (I) as shown in Fig. 3a.
4. Insert tube “D” into the corresponding holes on seat
frame “B” until they click into place (Fig. 4).
5. To assemble fabric “E” line up the holes on the fabric
with the restraint system installed on seat structure
“C”. Pass the two lateral arms of seat frame “B” through
the side fabric holes (FIG. 5), insert the pins of the
arms into the holes on either side of the backrest (FIG.
5a) until they click into place.
WARNING: Check that both arms are assembled cor-
rectly.
6. Attach fabric “E” using the two perimeter zips above
seat frame “B” (Fig. 6).
7. Pass the crotch strap and waist straps on seat struc-
ture “C” through the holes of fabric “E” (Fig. 7-7a-7b-
7c).
8. Attach the fabric (E) to the bottom of seat structure
“C”, making sure to insert all of the plastic clips in the
right slots (Fig. 8-8a).
BOOSTER CUSHION
9. Reducer cushion “F” is ideal from birth and can be
used or removed as necessary. To attach it to the
seat, place it on the fabric, pass the crotch strap and
waste straps through the holes in booster cushion “F”
(reclined cradle mode), (Fig. 9). In highchair mode it
is also necessary to pass the shoulder straps through
the holes of the booster cushion (Fig. 9a).
TOYBAR
10. The toys can be attached to the toybar by passing the
straps through the plastic openings on the bar (Fig.
10) and fastening the velcro.
11. Assemble the toybar (with the light positioned to-
wards backrest recline lever “N”) inserting the pins of
the bar into the holes on seat frame “B” until it clicks
into place (Fig. 11).
12. To incline the toybar in the three possible positions
press the side buttons (Fig. 12).
13. To remove the toybar press the buttons on the inside
of the bar support and pull upwards (Fig. 13).
WARNING: Always check that the toybar is properly
fastened before using it.
WARNING: To prevent possible injury by entaglement,
remove this toy when the child starts trying to get up
on its hands and knees in a crowling position.
HEIGHT ADJUSTMENT
14. Once assembled, the product can be adjusted to
various heights in all congurations. To adjust its
height, hold down height adjustment pedal “M” (Fig.
14) and lift or lower the seat to the desired height.
ADJUSTING THE BACKREST
15. The backrest can be adjusted to four dierent posi-
tions. To do this, push down on backrest recline lever
“N” (Fig. 15).
Position 1 – Crib mode (Fig. 15a)
Position 2-3 – Reclined cradle mode (Fig. 15b)
Position 4 – Highchair and rst chair at the table mode
(Fig. 15c)
These adjustments can also be made with your child
seated in the product. In this case it will be slightly more
dicult.
WARNING: Always check that the backrest is properly
locked before use.
USING THE SAFETY HARNESS
16. With fabric “E” assembled on seat structure “B”, there
will be a crotch strap, two waist straps and two
shoulder straps (Fig. 16).
17. CRIB MODE - WARNING: Completely remove all
safety harnesses making sure to keep them out of
the reach of your child (Fig. 17).
18. RECLINED CRADLE MODE - WARNING: A 3-point
restraint system must be used: crotch strap + waist
straps (Fig. 18).
19. After placing your child in the seat, reclined cradle
mode, fasten the straps by passing the two prongs
through the crotch strap buckle; adjust the waist
straps so that they t closely around your child’s
waist (Fig. 19).
20. HIGHCHAIR AND FIRST SEAT AT THE TABLE
MODE - WARNING: A 5-point restraint system
must be used: crotch strap + waist straps + shoulder
straps (Fig. 20).
WARNING: In this conguration the toybar must al-
ways be positioned behind the backrest.
21. After placing your child in the seat in highchair
mode, fasten the straps by passing the two prongs
through the shoulder strap buckle (Fig. 21) and then
through the crotch strap buckle (Fig. 21a); Adjust the
height of the shoulder straps so that they correctly
t your child’s shoulders.
Always make sure that the straps are fastened correctly.
To unfasten the strap, press and pull the side prongs.
WARNING: When using the product, always fasten the
straps by inserting them in the crotch strap and check
that they are tight enough and properly fastened.
22. The safety harness straps can be removed (for washing
or for use in the crib/reclined cradle conguration).
To remove the harnesses pull the waist and crotch straps
out from the holes in the fabric (Fig. 22-22a-22b) until
they are hidden on the seat frame and pull the shoulder
straps out from the fabric holes on the backrest (Fig. 22c
-22d). After removing the safety harnesses, make sure
that the harnesses are correctly re-assembled.
To re-assemble the safety harnesses, carefully follow the
steps below:
23. Follow point 7 of the ASSEMBLY paragraph to re-
assemble the waist straps and crotch strap. For the
shoulder straps, pass the strap through the hole as
shown in Fig. 23, making sure that the length adjust-
er is positioned as shown in the gure.
Take the plastic hole of the shoulder straps and pass it
through the fabric ring of the harness (Fig. 23a).
Having performed this operation correctly, pull the har-

Rozmawiaj z instrukcją obsługi Chicco Baby Hug 4 in 1 dzięki AI

Otrzymuj natychmiastowe odpowiedzi AI z instrukcji obsługi Chicco Baby Hug 4 in 1

Zapytaj o Chicco Baby Hug 4 in 1. Odpowiedzi pochodzą z tej instrukcji, wraz ze stronami, na których są oparte.

Baby Hug 4 in 1 Harmonogram konserwacji

Po każdym praniu
Sprawdź tkaninę i szwy

Upewnij się o odporności tkaniny i szwów po każdym praniu, aby zapewnić bezpieczeństwo.

Pokaż w instrukcji (strona 15)
Okresowo
Sprawdź pod kątem uszkodzeń

Regularnie sprawdzaj produkt pod kątem uszkodzonych, zniszczonych lub brakujących części i nie używaj go, jeśli zostaną one znalezione.

Pokaż w instrukcji (strona 14)
Okresowo
Czyszcz ruchome części plastikowe

Usuń kurz, brud i piasek z części plastikowych przesuwających się po metalowych rurach, aby zapobiec tarciu.

Pokaż w instrukcji (strona 16)
W razie potrzeby
Smarnuj ruchome części

Nałuch suchy smar silikonowy na ruchome części w razie potrzeby, aby zapewnić prawidłowe funkcjonowanie.

Pokaż w instrukcji (strona 16)
M: QW-35-FL

Zadaj Pytanie

0/1000

Czy polecasz Baby Hug 4 in 1?

Tak Nie

Najczęściej zadawane pytania

A

Można go używać od urodzenia w trybie łóżeczka i odchylonej kołyski do 9 kg, a następnie od około 6 miesięcy w trybie krzesełka do karmienia i pierwszego krzesełka do 36 miesięcy i 15 kg.

Czy ta odpowiedź była pomocna?

A

Nie. Odchylona kołyska nie jest przeznaczona do długiego snu. Jeśli dziecko potrzebuje spać dłużej, należy użyć odpowiedniego łóżeczka lub łóżka.

Czy ta odpowiedź była pomocna?

A

Tak. Pałąk z zabawkami można w razie potrzeby zamocować lub zdjąć. W trybie krzesełka do karmienia musi zawsze znajdować się za oparciem dla bezpieczeństwa.

Czy ta odpowiedź była pomocna?

A

Tkaninę należy prać wyłącznie ręcznie w zimnej wodzie. Nie wybielać, nie suszyć w suszarce, nie prasować i nie czyścić chemicznie. Po praniu sprawdź szwy i stan tkaniny.

Czy ta odpowiedź była pomocna?

A

Tak. Wszystkie cztery kółka muszą być zablokowane podczas używania produktu, aby pomóc utrzymać stabilność i zmniejszyć ryzyko przesunięcia lub przewrócenia.

Czy ta odpowiedź była pomocna?

A

Sprawdź, czy wszystkie części są prawidłowo zmontowane, mechanizmy blokujące są zapięte, pasy są właściwie dopasowane, a żaden element nie jest uszkodzony, rozdarty ani brakujący.

Czy ta odpowiedź była pomocna?

M: GO-GEM-FL-25

Zalety i Wady

Zalety

  • Konstrukcja 4 w 1 rośnie razem z dzieckiem od urodzenia do 36 miesięcy.
  • Regulowana wysokość i odchylane oparcie wspierają różne codzienne sytuacje.
  • Zdejmowany pałąk z zabawkami i dźwiękami zapewnia rozrywkę na wczesnym etapie.
  • Zdejmowana, nadająca się do prania tkanina i elementy pasa ułatwiają czyszczenie i pielęgnację.
VS

Wady

  • Zmiana trybów wymaga starannego montażu przez dorosłych i regularnych kontroli bezpieczeństwa.
  • Produkt musi być zawsze używany z właściwym systemem zabezpieczeń.
  • Tryby łóżeczka i odchylonej kołyski są ograniczone do stosunkowo krótkiego wieku użytkowania.
  • Baterie i ruchome części pałąka z zabawkami wymagają okresowej konserwacji i uwagi.
M: GO-GEM-FL-25

Produkt Specyfikacja

Waga

10,20 kg

Wymiary (SxWxG)

850x880-1220x600 mm

Cechy

z regulacjA wysoko\u015bci, moA1\/zna przekszta\u0142ci\u0107 w krzese\u0142ko do karmienia, funkcja melodii

M: GO-GEM-FL-25

Opis Produktu

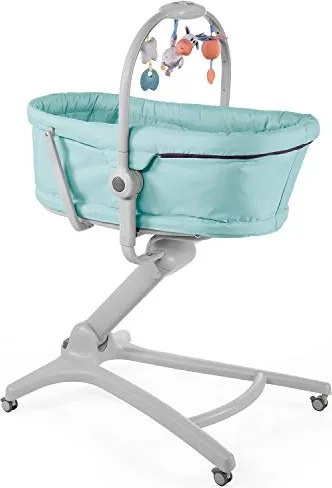
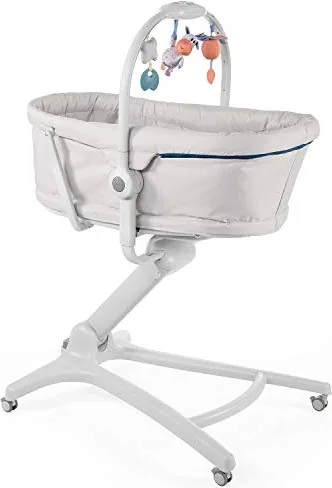
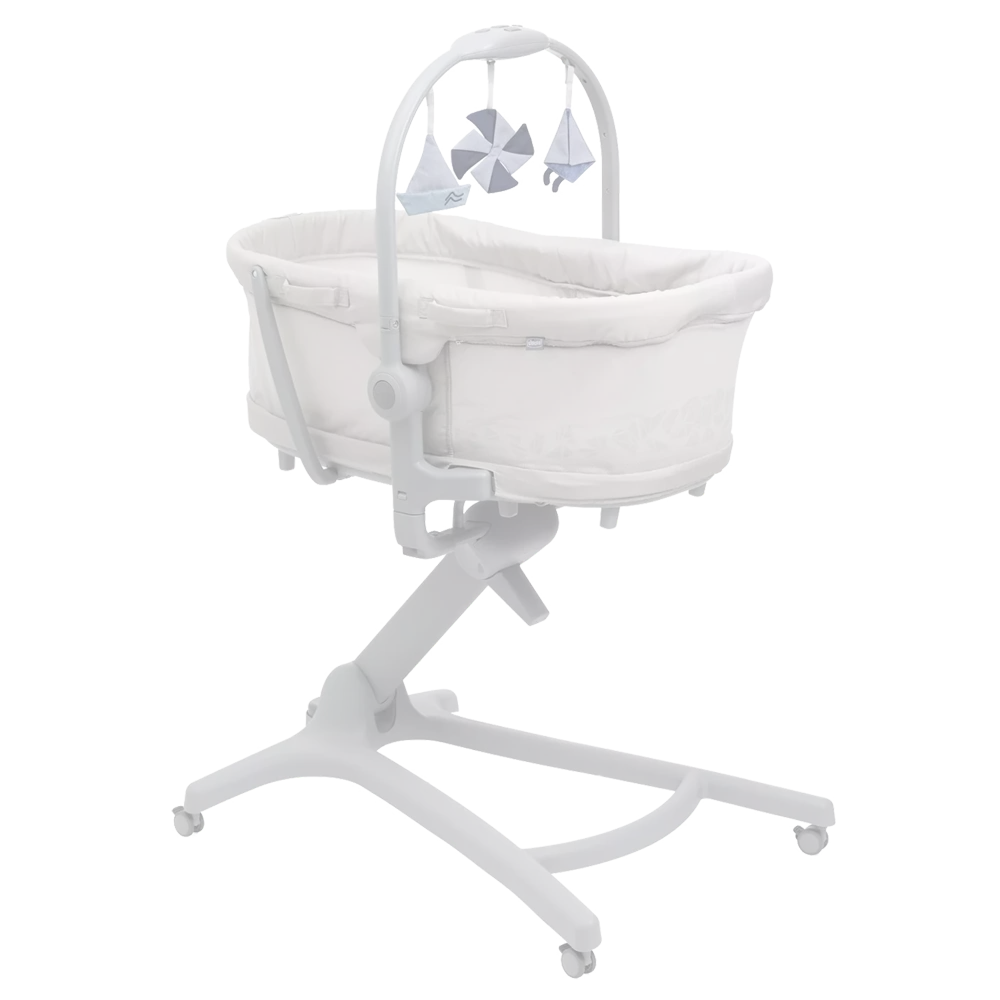
Chicco Baby Hug 4 in 1 Bassinet: Jedno sprytne siedzisko na pierwsze trzy lata

Chicco Baby Hug 4 in 1 Bassinet wyróżnia się jako wszechstronny towarzysz dziecięcego pokoju, który towarzyszy dziecku przez kilka wczesnych etapów z zaskakującą łatwością. Od pierwszych dni w domu aż po lata malucha może pełnić funkcję łóżeczka, odchylonej kołyski, krzesełka do karmienia i pierwszego krzesełka przy stole. Ta elastyczność sprawia, że jest atrakcyjny dla rodziców ceniących kompaktowe rozwiązania bez rezygnacji z wygody i praktyczności.

W trybie łóżeczka oferuje przytulną przestrzeń do odpoczynku dla noworodków do 9 kg, a ustawienie odchylonej kołyski zapewnia rodzinom wygodne miejsce do nadzorowanego relaksu w pierwszych miesiącach. Później, gdy dziecko potrafi samodzielnie siedzieć, produkt przechodzi w krzesełko do karmienia i pierwsze krzesełko odpowiednie do posiłków i codziennych rodzinnych chwil aż do 36 miesięcy i 15 kg. W efekcie otrzymujemy jeden element wyposażenia dziecięcego, który dostosowuje się do zmieniających się rutyn zamiast stać nieużywany po kilku miesiącach.

Projekt koncentruje się także na wygodzie. Regulowany system wysokości pomaga dopasować siedzisko do różnych ustawień mebli, a oparcie można odchylać w wielu pozycjach, aby odpowiadało planowanemu zastosowaniu. Zdejmowany pałąk z zabawkami, światłami, dźwiękami i miękkimi zabawkami dodaje angażującego charakteru, zwłaszcza na wcześniejszych etapach. Dla wielu rodziców pomocna staje się instrukcja Chicco Baby Hug 4 in 1 Bassinet Manual, ponieważ wyjaśnia, jak bezpiecznie przechodzić między trybami i maksymalnie wykorzystać każdą konfigurację.

Kolejną zaletą jest codzienna konserwacja. Zdejmowane elementy tekstylne, pasy bezpieczeństwa i łatwe do czyszczenia powierzchnie ułatwiają użytkowanie w zapracowanych domach. Produkt został też zaprojektowany z dużym naciskiem na stabilność i nadzór, przypominając opiekunom o blokowaniu kółek, sprawdzaniu punktów blokady i używaniu właściwego systemu zabezpieczeń w każdym trybie. To ważne, ponieważ produkt wielofunkcyjny powinien być tak samo bezpieczny, jak praktyczny.

Uwagi

  • Najlepiej sprawdzi się u rodziców szukających trwałego, oszczędzającego miejsce rozwiązania.
  • Przed każdą zmianą trybu zawsze dokładnie wykonuj kroki montażu.
  • Regularna kontrola i prawidłowe czyszczenie pomagają zachować działanie i wygląd.
  • Pałąk z zabawkami jest świetny dla młodszych niemowląt, ale należy go usunąć, gdy dziecko stanie się bardziej mobilne.
M: GO-GEM-FL-25

© Copyright 2026 Manual.ly